

Photo Galleries - Comanche Line Honours. Photos by Carlo Borlenghi
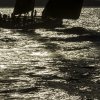
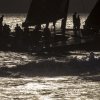
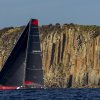
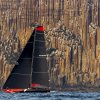
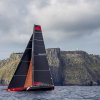
Comanche Line Honours. Photos by Carlo Borlenghi
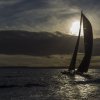
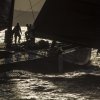
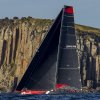
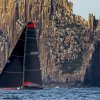
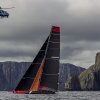
Comanche Line Honours. Photos by Carlo Borlenghi
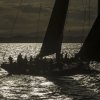
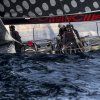
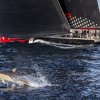
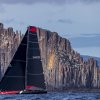
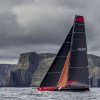
Comanche Line Honours. Photos by Carlo Borlenghi
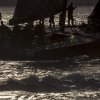
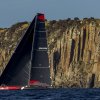
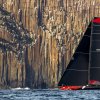
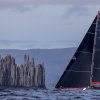
Comanche Line Honours. Photos by Carlo Borlenghi
Comanche Line Honours. Photos by Carlo Borlenghi
Comanche Line Honours. Photos by Carlo Borlenghi
Comanche Line Honours. Photos by Carlo Borlenghi
Comanche Line Honours. Photos by Carlo Borlenghi
Comanche Line Honours. Photos by Carlo Borlenghi
Comanche Line Honours. Photos by Carlo Borlenghi

Comanche Line Honours. Photos by Carlo Borlenghi
Comanche Line Honours. Photos by Carlo Borlenghi
Comanche Line Honours. Photos by Carlo Borlenghi
Comanche Line Honours. Photos by Carlo Borlenghi
Comanche Line Honours. Photos by Carlo Borlenghi
Comanche Line Honours. Photos by Carlo Borlenghi
Comanche Line Honours. Photos by Carlo Borlenghi
Comanche Line Honours. Photos by Carlo Borlenghi
Comanche Line Honours. Photos by Carlo Borlenghi
Comanche Line Honours. Photos by Carlo Borlenghi
Powered by Phoca Gallery